
Table of Contents >> Show >> Hide
- Before You Start: 5 Rules for Safe Wall Cleaning
- 1. Use a White Rubber Eraser for Fresh, Light Pencil Marks
- 2. Try a Kneaded Eraser for Delicate Paint Finishes
- 3. Wipe with Warm Water and a Drop of Dish Soap
- 4. Make a Baking Soda Paste for Stubborn Graphite
- 5. Use White Non-Gel Toothpaste for Small Trouble Spots
- 6. Use a Damp Magic Eraser for Persistent Marks
- 7. Try a Suede Stone for Tough Marks on Textured Walls
- What Not to Do When Removing Pencil Marks from Walls
- When Repainting Is the Better Option
- Real-Life Experience: What Actually Works in Everyday Homes
- Final Thoughts
Few things say, “A small human lives here” like a mystery pencil doodle on the wall. Of course, adults are not innocent either. Pencil marks show up after furniture layouts, crooked gallery-wall experiments, rushed measuring notes, and those bold little lines that begin with, “I’ll erase this later.” Then later arrives, and the wall still looks like it has homework on it.
The good news is that pencil marks are usually one of the easier wall messes to remove. The less-good news is that the wrong cleaning method can leave you with a faded patch, a shiny rubbed area, or a bigger problem than the original scribble. That is why the smartest approach is not “scrub first, regret later.” It is to start gently, test in a hidden spot, and work your way up only if needed.
In this guide, you will learn how to remove pencil marks from a wall using seven easy methods that work on most painted walls, plus a few tips for wallpaper, delicate finishes, and stubborn graphite smudges. Whether you are dealing with one tiny line or an entire mural that definitely was not approved by management, these wall cleaning tips can help you restore the surface without turning your paint job into a science experiment.
Before You Start: 5 Rules for Safe Wall Cleaning
1. Always test a hidden area first
Even gentle cleaners can affect paint color, sheen, or texture. Try your method behind a door, near a baseboard, or in another low-visibility spot before you tackle the obvious mark in the middle of the living room.
2. Start with the least aggressive method
When removing pencil from painted walls, the order matters. Try a dry or nearly dry approach first, then move to mild soap, then to slightly more active cleaners like baking soda or a damp melamine sponge. This helps protect the paint finish.
3. Use light pressure
Pencil marks are annoying, but paint damage is a commitment. Gentle circular motions usually work better than scrubbing like you are trying to erase your entire lease history.
4. Do not soak the wall
Too much water can leave streaks, soften some paint finishes, damage drywall paper, and create issues on wallpaper. Your cloth should be damp, not dripping.
5. Know your wall finish
Flat and matte paint tend to be less forgiving than eggshell, satin, or semi-gloss. Washable wallpaper can usually handle a lightly damp cloth, but non-washable paper, fabric, or grasscloth should be cleaned with dry methods only.
1. Use a White Rubber Eraser for Fresh, Light Pencil Marks
If the pencil mark is small and recent, start with the simplest fix: a clean white rubber eraser. This is often the best method for a few accidental lines, a child’s “tiny masterpiece,” or leftover measuring marks from hanging frames.
Use a white eraser instead of a pink or colored one. Colored erasers can transfer dye to the wall, which is not exactly an upgrade. Hold the eraser flat and rub lightly in one direction or small circles. Stop every few seconds and brush away the eraser crumbs with a dry microfiber cloth so you can see your progress.
This method is especially useful when the graphite is sitting on the surface rather than ground into textured paint. It is quick, cheap, and satisfying in the way all simple household wins are satisfying.
Best for
Fresh pencil marks, smooth painted walls, and small areas.
Watch out for
Over-rubbing can create a dull or shiny patch, especially on flat paint.
2. Try a Kneaded Eraser for Delicate Paint Finishes
If a standard eraser feels a little too firm, a kneaded eraser is your gentler overachiever. Artists use these because they are soft, pliable, and excellent at lifting graphite without aggressive friction. On walls, that flexibility can make a real difference.
Pull off a small piece, knead it until soft, and press or lightly rub it over the pencil mark. Because the eraser molds to the surface, it can be especially helpful on slightly textured walls where a regular eraser skips across raised spots.
This is not the most common household cleaner, but if you already have one in an art drawer, it is a smart option. It is also a great choice for light smudges around pencil lines, where you want more control and less abrasion.
Best for
Delicate paint, light smears, and textured surfaces that need a softer touch.
Watch out for
It works best on light marks, not deep scribbles that have been enthusiastically pressed into the wall.
3. Wipe with Warm Water and a Drop of Dish Soap
When dry erasing is not enough, move up to a mild cleaning solution. A bowl of warm water with a couple drops of dish soap is one of the safest, most practical ways to clean pencil off walls without getting too aggressive.
Dampen a clean microfiber cloth in the solution and wring it out thoroughly. The cloth should feel barely wet. Gently wipe the mark in circular motions, then follow with another cloth dampened with plain water to remove any soap residue. Finish by drying the area with a soft towel.
This method is excellent because it does not just address graphite. It also removes skin oils, dust, and mystery grime that often cling to pencil marks and make them look worse. In kitchens, hallways, and kids’ rooms, that extra cleaning power can be the difference between “mostly gone” and “where did it go?”
Best for
Painted walls with washable finishes, everyday smudges, and larger marked areas.
Watch out for
Do not oversaturate the wall, and do not use heavy detergent. More soap does not mean more success. It usually just means more rinsing.
4. Make a Baking Soda Paste for Stubborn Graphite
For darker marks that laugh in the face of soap, a baking soda paste can help. Mix baking soda with a little water until it forms a thick but spreadable paste. Apply a small amount with a microfiber cloth and rub very gently in circles. Then wipe the area with a damp cloth and dry it.
Baking soda works because it adds a mild abrasive effect. That makes it effective on stubborn pencil stains, but it also means you should use restraint. Think “polite persuasion,” not “aggressive interrogation.”
This is one of the most effective home remedies for graphite residue, especially when the mark has been there long enough to settle into the paint texture. It is affordable, widely available, and easy to mix in seconds.
Best for
Older pencil marks, faint shadowing after erasing, and washable painted walls.
Watch out for
Baking soda can be slightly abrasive. Always test first, and use extra care on flat paint, dark paint, and specialty finishes.
5. Use White Non-Gel Toothpaste for Small Trouble Spots
Yes, toothpaste. But not the neon-blue gel that promises glacier freshness and probably belongs nowhere near your walls. For this trick, use plain white non-gel toothpaste.
Dab a small amount on a clean microfiber cloth and rub the pencil mark gently. Wipe away the residue with a damp cloth, then dry the wall. Toothpaste works similarly to other mild polishing cleaners, which is why it can lift light wall marks surprisingly well.
This method is handy when you need a quick fix and do not feel like making a paste or setting up a cleaning station worthy of a home-improvement show. It is especially useful for isolated spots near light switches, desks, and entryways where pencil marks appear one suspicious line at a time.
Best for
Small marks, quick touch-ups, and walls that can tolerate gentle spot cleaning.
Watch out for
Skip gel toothpaste and anything with whitening crystals or gritty additives. Your wall does not need a minty exfoliation.
6. Use a Damp Magic Eraser for Persistent Marks
When pencil marks refuse to leave politely, a damp Magic Eraser or similar melamine sponge can do the job. Lightly wet the sponge, squeeze out the excess, and buff the mark with very gentle circular motions. Let the sponge do the work.
This method is popular for a reason: it works. Melamine foam acts like a very fine abrasive, which is why it can remove scuffs, pencil, fingerprints, and other wall marks. But that same power is exactly why you should be careful. Use too much pressure and you may remove some of the paint finish along with the pencil.
If you have eggshell or satin paint, you may get excellent results. On flat paint, however, go slowly and check the surface often. A clean wall is great. A pale, shiny rectangle where the mark used to be is less thrilling.
Best for
Stubborn pencil marks, scuffs mixed with graphite, and durable painted surfaces.
Watch out for
Melamine foam is abrasive. Always spot-test first and use light pressure.
7. Try a Suede Stone for Tough Marks on Textured Walls
The wildcard on this list is the suede stone. It is designed for cleaning suede shoes, but it can also help remove pencil marks from walls, particularly when the wall has texture and other methods are not gripping the graphite effectively.
Rub the stone lightly over the affected area and stop often to inspect the paint. This is not usually the first method to try, but it can be useful when you are dealing with marks on textured drywall, utility-room paint, or those oddly gritty wall surfaces that seem to collect every mark like a magnet.
Think of the suede stone as a specialty backup player. It is not for every wall, but in the right situation, it can save the day without forcing you into repainting.
Best for
Textured walls and stubborn graphite that does not respond to softer methods.
Watch out for
Use a very light hand. If the wall is painted with a delicate finish, this method may be too abrasive.
What Not to Do When Removing Pencil Marks from Walls
Knowing what not to do is just as important as knowing what works. Do not attack pencil marks with bleach, harsh solvents, steel wool, or gritty scrub pads. These can damage paint, remove color, and leave visible patches. Do not soak drywall with water. Do not use colored cloths that might bleed. And do not assume wallpaper behaves like paint, because wallpaper has a long memory and a low tolerance for bad decisions.
If the wall is non-washable wallpaper, try only dry methods first, such as a kneaded eraser, art-gum-style eraser, or dry cleaning sponge. If the mark is very dark or deeply embedded, repainting or professional touch-up may be safer than endless scrubbing.
When Repainting Is the Better Option
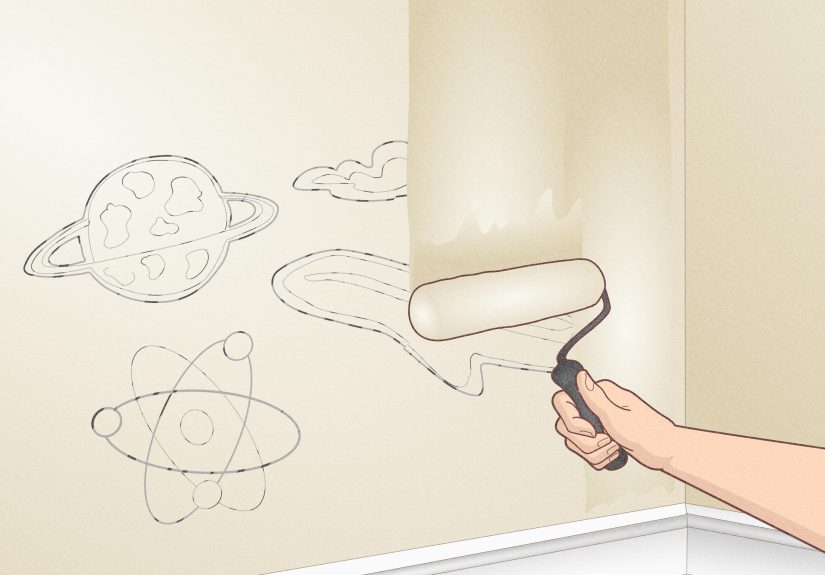
Sometimes the real answer to how to get pencil marks off walls is: you can, but you may not love the finish afterward. If the wall is already worn, the paint is old, or the pencil line is mixed with dents, nail holes, or rubbed paint, a small touch-up may look better than repeated cleaning.
This is especially true in apartments before move-out, in hallways with flat builder-grade paint, or in kids’ rooms where one mark is never just one mark. If cleaning removes the scribble but leaves a shadow or sheen difference, a quick touch-up can give the wall a more even, finished look.
Real-Life Experience: What Actually Works in Everyday Homes
In real homes, pencil marks tend to come with stories. There is the parent who finds a beautiful line of “houses” drawn perfectly at toddler-eye level across the dining room wall. There is the renter who uses pencil to mark furniture placement, forgets about it for six months, and remembers right before the final walkthrough. There is also the dedicated DIY person who lightly marks stud locations, shelf heights, and frame spacing, then discovers those “temporary” marks have become part of the decor.
One common experience is that the simplest method often works best. People expect to need a fancy wall cleaner, but a white eraser or a damp microfiber cloth with a tiny bit of dish soap solves a surprising number of pencil problems. That is especially true when the mark is fresh. The longer graphite sits on the wall, the more likely it is to cling to dust, skin oil, or the subtle texture of the paint.
Another real-world lesson is that paint finish changes everything. On satin or eggshell walls, homeowners often report that mild soap and a soft cloth work beautifully. On flat paint, the same cleaning attempt can leave a visible rubbed patch if you get impatient. This is where people usually learn the oldest cleaning truth in the world: just because a method works fast does not mean it works gently.
Magic Erasers get a lot of praise in everyday use because they can remove stubborn marks that other methods leave behind. But they also produce the most mixed reviews. Used lightly, they can be excellent. Used aggressively, they can dull the finish or lighten the spot. In other words, they are the overachieving friend who is helpful until they become a little too enthusiastic.
Parents often discover that layered marks need layered solutions. For example, a wall may have pencil, crayon, and a bit of sticky handprint all in one glorious composition. In those cases, starting with a dry eraser for the pencil, then moving to mild soap, and only then using a damp melamine sponge on the remaining scuff is usually more effective than jumping straight to the strongest option.
Renters and homeowners also learn that texture matters. Smooth walls are usually easier to clean because the graphite sits on the surface. Light orange-peel texture or older paint can trap graphite in tiny valleys, making marks harder to erase completely. That is when kneaded erasers, baking soda paste, or a very careful suede stone can be more useful than plain wiping.
And then there is the emotional experience of wall cleaning, which is rarely discussed but very real. At first, there is confidence. Then there is bargaining. Then there is the moment you tilt your head sideways to see if the mark is actually gone or if you are just emotionally exhausted. The good news is that most pencil marks do come off. The better news is that once you know which method matches your wall finish, future cleanup gets much faster.
The biggest takeaway from real experience is simple: patience beats force. Gentle pressure, the right tool, and a step-by-step approach almost always produce better results than panic-cleaning with whatever happens to be under the sink.
Final Thoughts
If you were wondering how to remove pencil marks from a wall without wrecking the paint, the answer is to work smart, not harsh. Start with a white rubber eraser or kneaded eraser. Move to mild dish soap and water if needed. Bring in baking soda paste, white toothpaste, or a damp Magic Eraser only when the easier methods fall short. For textured surfaces, a suede stone may help, but only with a careful hand.
Most importantly, spot-test first, use microfiber cloths, and remember that different finishes respond differently. A wall can absolutely survive a few pencil marks. It just needs you to resist the urge to scrub like you are mad at it.





